


How to Display Children's Artwork at Home
- • 6 MIN READ 📖
On This Page:
Obviously, it’s too soon to talk about the Louvre or Metropolitan Museum of Art, but the collection of toddler's artwork is piling up at the speed of light. Seems like they never get tired of creating something new, and you do appreciate their efforts and enthusiasm. After all, that’s one of those milestones you were looking forward to! Especially in their early years, when all “small” steps like crawling, walking, or drawing are noticed and celebrated more than anything else.
Now, back to our main question – how to display children's artwork at home and leave room for you, your kiddos, and your cat? We know some tricks that will help you expose their works in the most prominent place (without cluttering!) while supporting toddlers’ creativity. Here we go.

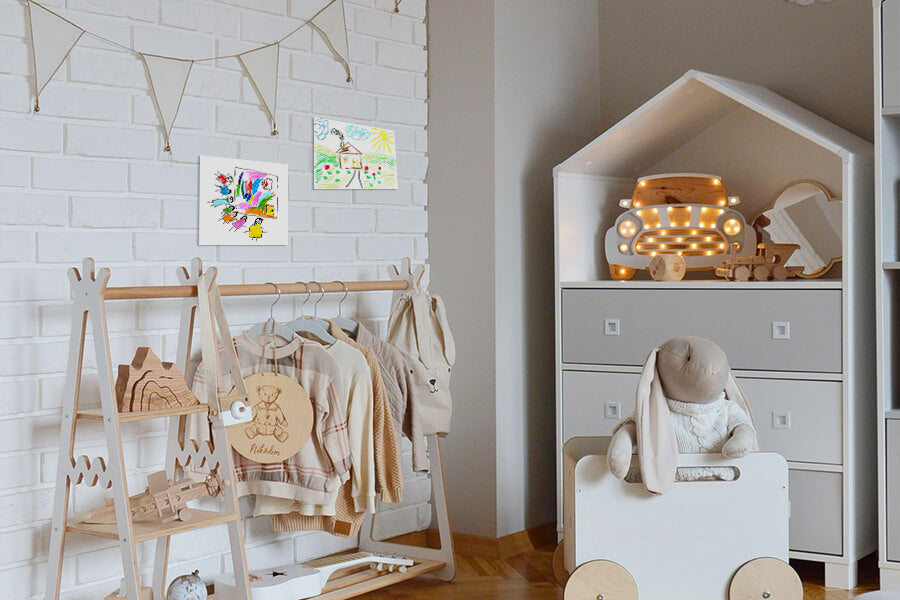
1. Use Children's Artwork Display Boards
If there’s the simplest way to make a home expo of kid’s objet d'art, it’s called display boards. It’s easy. You need an empty wall and a peg/magnet/bulletin board to mount on it. As for the room that childrens artwork display boards are best suited for, we recommend hanging kids art in a kitchen or dining room. That’s where people usually hang out and talk while sharing food. Put them in a creative mood by arranging a small homemade art gallery!
The pros of putting kiddies’ artwork on display boards:
- It’s perfect for livening up any space (say NO to the dull interior!).
- You can demount the board anytime and relocate it to the other room.
- Simple yet effective way to ensure your pumpkin feels loved, valued, and admired.
- If the board is large enough, put up all creative pieces. This will keep rooms free from piles.
- Changing pics is quick and easy.
- Boards are pocket-friendly. They come in all possible sizes, shapes, colors, etc.
The cons of display boards:
- A cluttered board might make the room look messy.
- If your living area isn't large, finding a spare wall of a pretty decent size could be problematic.

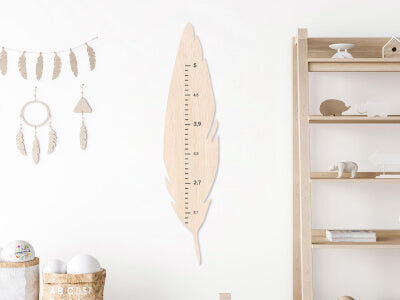
2. Hang Kid's Art Near Wall Decor
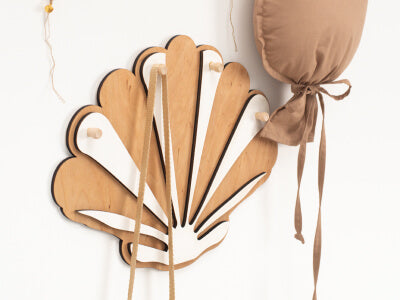
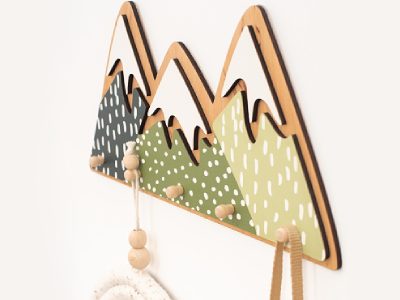
To showcase kids drawings even more artistically, let them blend with the home décor you already have. Not only will you avoid the need to look for the right art spot, but you’ll also refresh the room's overall look. Pick some wall décor pieces and replace them with what your little genius created. To rotate works of art, we recommend using wooden wall hangers that are both kids and eco-friendly.
The pros of this easy method are as follows:
- It’s time-saving.
- Children’s masterpieces will add warmth while making any room less formal or dull;
- It costs nothing.
- It can be 2-in-1. Pick an excellent wall height chart and mount it next to the available décor. While everyone enjoys kids’ creativity, you’ll check how fast your little champ grows up.
- It adds style! There’s a “Primitive” tendency in modern art, so why not use the so-called amateurism to elevate an interior design?


The cons should also be mentioned:
- With more toddler illustrations, pictures, photos, as well as drawings comes the so-called over-decorating (a problem for those who stick to just one style).
- Changing artworks won’t be easy if the new creations differ in shape, size, type, etc.
- Now you have to find the place for the décor being replaced by kiddos’ chef-d'œuvre (ouch!).

3. Apply Frames for Children's Artwork
Using frames for children's artwork is one of the mom-approved kids art display ideas of all times. If you’re tired of all the finger-painted, hand-drawn or clayed creations surfacing all over the fridge, it’s a classy way to go.
The pros of complimenting your room with framed artwork:
- Using frames adds a cleaner and more formal look to the place.
- Several frames of different sizes make it possible to turn the whole wall into the “hall of unicornish fame” (no need to wonder what to do with the rest of the blank wall!).
- You don’t have to present all artworks – only carefully chosen by you and your budding Dali.
- Use frames that play well with the interior palette/style.
- More than one artwork can be clustered into a frame (best works for small pieces).
- Frames don’t cost much (unless you want to invest in frames with price tags in the thousands).
The cons won’t take long:
- Do you plan to change your kid’s craft frequently? That will put the kid in the frame of creating masterpieces of an exact size.
- Glass and kids are a terrible combination. Broken glass can pose a dangerous situation, so keep all safety principles in mind.
- Kids can’t reach or change their works themselves.

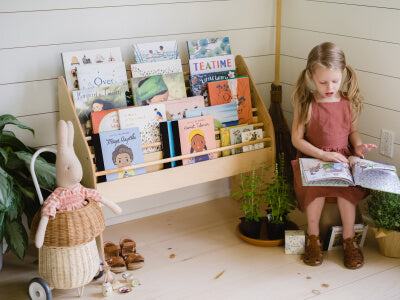
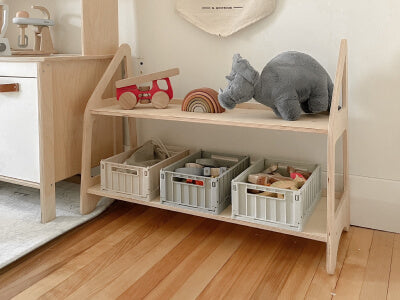
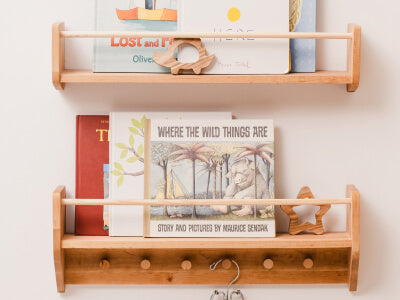
4. Display Kid's Drawings on the Shelf
Shelves are suitable for many reasons. First, you can use them for organizing many things – from a collection of miniature Pinkie Pies to toddler masterworks. Feel free to design them yourself or buy a ready-made front facing bookshelf.
The latter is irreplaceable regarding rotating items and switching them for books one day.
The pros:
- Generally open, a wooden Montessori bookshelf is child-friendly. It allows little ones to see all materials displayed, notice their artistries, and…feel proud!
- The item makes the kid's wall art rotation easy peasy.
- Front-facing bookshelves are well-organized and uncluttered.
- It promotes independence in little buds – they decide what artwork will be showcased.


The cons:
- Just like any piece of furniture, shelves take place in a room. If it is limited in size, chances are incorporating a front-facing shelf will make a smaller room feel unbalanced.
- Independence over socializing. Uh-oh. The Montessori method emphasizes self-sufficiency. Unlike display boards or framed art, shelves do not include interaction with other family members.

5. Match Kid's Wall Art with Interior Design
Are there splashes of green, blue, red, or any other color in a particular room? You know what to do with kids drawings with a pop of a specific color! Make them part of your interior. While children will be engaged in the process, you will be provided with unique and out-of-ordinary artwork complimenting the color scheme.
The pros of incorporating kiddos’ creative works into the home interior:
- This is one of the least expensive and easiest ways to décor living areas.
- Excellent for those who are bored with conventional décor options.
- Knowing their creations are displayed on home walls helps tots feel like grown-ups.
- Significant space saving – no need for extra space for home décor and kid’s works.
- Terrific options for those who like experiments.
The cons of mixing children’s art with home decor scheme:
- Creativity is king, yet incorporating toddlers’ creations into the home interior might be too extravagant.
- This method doesn’t work well for fans of neutrals (unless you can ask your little Picasso to use pastels).
- Sooner than you know, the illustrations will lose their vibrancy; you’ll have to switch them constantly.

6. Turn Kid's Art into Book
Let today’s techs do their job! If you wonder how to display kids art so that nothing is missed, create a photo book. To turn kids art into book, grab all those images, photos, as well as other creations from the fridge and turn on the laptop. Scan each creative work and squeeze the whole collection into a book. The latter will serve as an archive of family memories to be passed to the next generation one day.
The pros of designing a kids artwork book:
- It’s compact. It can be easily relocated if needed.
- You don’t need to pay a fortune to create a mix of artwork.
- Make it part of the interior with a sophisticated and creative cover design.
- There’s no better DIY gift for grandparents!
The cons of preserving children’s handiworks in a book:
- All photos or pictures are scanned, i.e., you don’t see authentic works of art.
- If the book is lost, all art objects are gone for good.
If you’ve already forgotten the last time you saw your refrigerator doors, it’s time to seek alternative ways to show off children's artwork. Whatever technique you opt for, try displaying each so it can be easily rotated. After all, young ones create new pieces non-stop. Turn their latest artworks into collages, books, puzzles, or wall décor – celebrate those creative efforts in an exciting and fun way!
5 comments


MONTESSORI CLUB
Our newsletter has lots of fun educational activities that you can do with your kid at home!
Ages: 0-4 years
Even before reading your article, I decided to hang my son’s drawings next to his height meter. It turned out very nice and symbolic
Highly recommend every parent to pay attention to this idea!
The photo book display idea is genius! It keeps things fresh and allows my child’s creations to shine. A wonderful solution to the constant influx of new masterpieces!♥
Thanks to this article, our home now reflects the vibrant creativity of my kids. The gallery wall concept turned our living space into a dynamic and ever-evolving showcase. Love it!
Finally, a guide that transforms the chaos of children’s artwork into a harmonious display! Hanging our kid’s art near wall decor and applying frames adds an artistic touch to our home. 👏🖼️
This article was a lifesaver for a mom like me struggling to preserve my child’s artwork without cluttering our home. The tips on using display boards and integrating their masterpieces into our decor were a game-changer. Now, I can proudly showcase my child’s creativity without the overwhelming mess. Thank you for the perfect solution! 🎨💖